
Step 1. Access Your Account Test Page
- Login to your SigmaTesting.com account. From your HOME page, click on TESTS.
Step 2. Access the Data Export Page
- From the Your Tests page of your account, click on EXPORT DATA.
Step 3. Prepare Your Export
- You should now be on the Export Test Data page of your account. View similar image below.
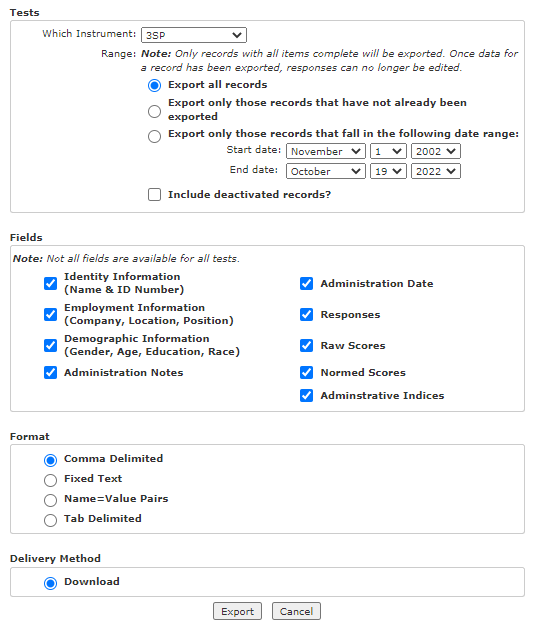
- Under the Tests heading, use the dropdown option to select the assessment for which you wish to export data, and select the preferred data range option. The default setting is to Export all records. The other options are Export only those records that have not already been exported and Export only those records that fall in the following date range: select start date and end date range.
- Under the Fields heading, select the fields you wish to be included in your export. The options are Identity Information (Name & ID Number), Employment Information (Company, Location, Position), Demographic Information (Gender, Age, Education, Race), Administration Notes, Administration Date, Responses, Raw Scores, Normed Scores, and Administrative Indices. By default all of these fields will be selected.
- Lastly under the Format heading, select the format for which you would like the document to be exported. The options are Comma Delimited, Fixed Text, Name=Value Pairs, and Tab Delimited. The default is Comma Delimited.
Step 4. Begin Your Export
At the bottom of the page, click on EXPORT to begin your data export. Depending on the size of your export, this may take a few moments to download. Once the file is prepared, the download will be available to open with the options you have selected in the steps above.